Linking Mailchimp
This article covers how to connect your Mailchimp account to Contempas so you can schedule email campaigns.
To connect your Mailchimp account please do the following:
1. Go to mailchimp.com and log in.
2. Click on the Destinations button in the main navigation.
3. Find the Link a Mailchimp account button and click on it.
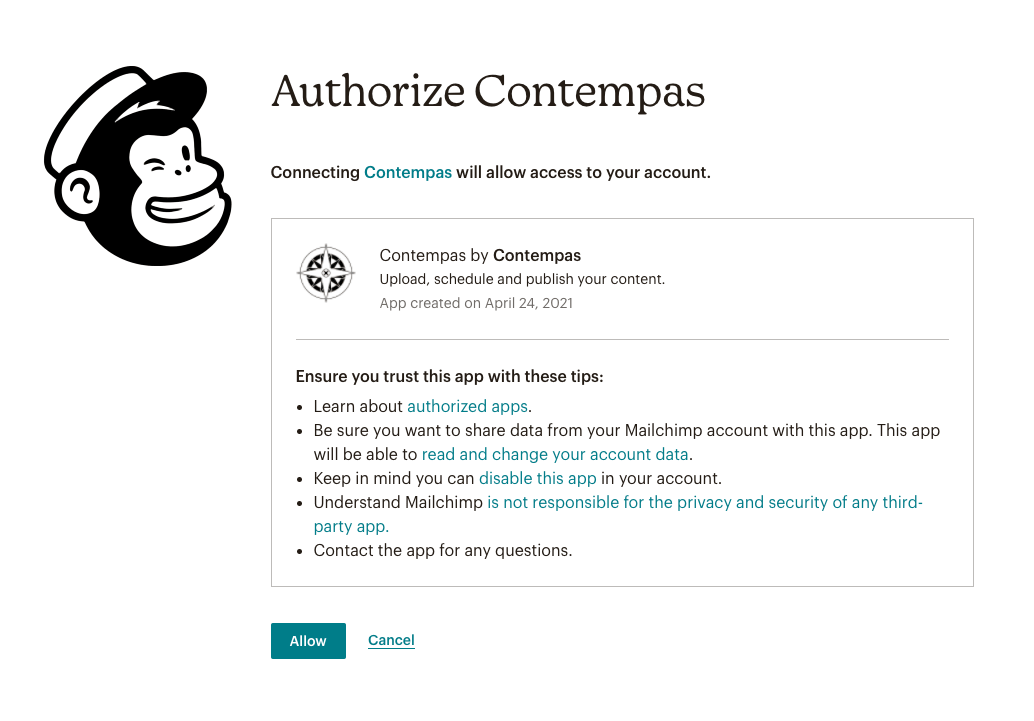
4. You'll be prompted to authorize Contempas app.
 Click on the Allow button.
5. You will be redirected back to Contempas and will see your account as an available destination.
To disconnect your Mailchimp account do the following:
1. Click on the Destinations button in the main navigation.
2. Find the destination that represents your Mailchimp account. Click on the three dots at the end of the row and hit Delete.
3. Go to mailchimp.com and log in. Open the menu in the upper right corner of the page and choose Account.
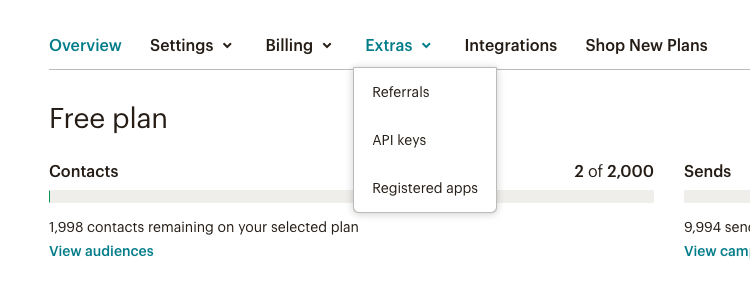
4. Click on Extras and then on API keys.

5. Scroll down to the Authorized applications and click the X button next to Contempas app.
Having issues?
Sometimes the things break. In such cases we recommend revoking the permissions of our app and trying again. Here are the steps:
1. Go to mailchimp.com and log in. Open the menu in the upper right corner of the page and choose Account.
2. Click on Extras and then on API keys.

3. Scroll down to the Authorized applications and click the X button next to Contempas app.
4. Head back to Contempas and try linking your Mailchimp account again.
If you have any further question don't hesitate to reach us at support@contempas.com.